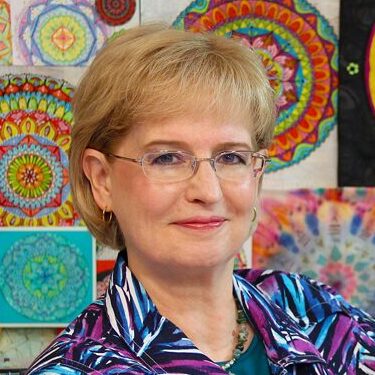
Do you ever find yourself stuck in a creative rut? I have to admit I do occasionally and that's a challenge when creativity is my passion. 🙂 When I'm sitting in a creative desert, I get out my art prompt cards and have a play. I have several sets of cards including one I created with prompts I've collected for several years. (You'll find a link to the list below.)
During this LIVE Drama-free Friday, while I chatted with the viewers, I showed several ways to use Mixed Media techniques on large sheets of Canson Mix Media Paper that I enjoy using to create prompt cards. It's easy and a lot of fun to play with your supplies for a project like this one.
Scraping a coat of Gesso over the entire surface is the first step. It primes the paper and helps add some thickness. I enjoy adding visual texture to the paper with China Markers (I used White, but they are available in lots of colors) because they resist paint. Even after multiple layers of media on top, you can still see the China Marker white circles peeking through. I added more texture with Tulip Dimensional Paint – one of my favorite supplies! Tulip Paints dry quite quickly which allows me to move on with beautiful and vibrant Dylusions Acrylic Paints – yummy!
I added white stenciling with Cosmic Bubbles Stencil, Fancy Feathers Stencil and the Crossed Stencil. Stamping is another fun tool to use with these papers. You can use ink or paint with stamps, but be sure to immediately wash paint from your stamps. Other fun stamping tools include Silicone Hot Pads and Plastic Canvas with acrylic paint applied with a sponge.
Seth Apter has some great textural rubber stamps with Impression Obsession. I used Seth's Solar System set with black ink to add a little grunge and finer lines. These stamps are great for adding depth to the papers.
My last details are achieved with Fineline Bottles filled with white, black and turquoise fluid or airbrush paints. I like to emphasize shapes with the fine lines and also doodles and words. Paint Pens are another great choice for doodling and details, too.
Once the papers are dry, I coat them with Delta Ceramcoat Gloss Varnish which helps thicken the paper and protects the artwork. The back side of the papers are painted with craft acrylic paints that I scraped over the surface. Once fully dried, I cut the cards to 3″ x 4″ just because I like the size. 😉 After rounding each corner with a Corner Chomper, I Ink around the edges and the cards are ready for Creative Prompts. Next, shuffle and use!
Below, you'll see a close up of each completed sheet. Be sure to click the images to see the details. If you would like a list of Creative Prompts to get you started, just click here.
If you created your own Creative Prompt Cards, leave a comment below and tell me about them. I love reading about your experiences! Feel free to tweet photos of your cards @BarbOwenDesigns so that I can share them with my followers, too.
I'll see you next LIVE Drama-free Friday at 2pm Eastern.
Until next time ~
Remember to Get Creative today! It's Easy!
Barb


