It All Started. . .

It all started when my mother handed over her treasure – a cat created from green oil cloth, with painted eyes, nose, whiskers and legs that had been sewn together with yarn and stuffed with rags. The poor thing was losing the fight for longevity!
My mother moved the green cat (made by me – her youngest daughter) multiple times through the years. During her move to much smaller surroundings, the cat which I'd forgotten all about and didn't even know existed any longer, was bequeathed to me for safe keeping. And so the cat found a new home in a chest of photos and memorabilia.
While looking for something else, I stumbled across the poor old green cat who was begging for help! That's when the fun began for me – preserving my own Kid Art and using a 3-D object as my inspiration.
The Drawing
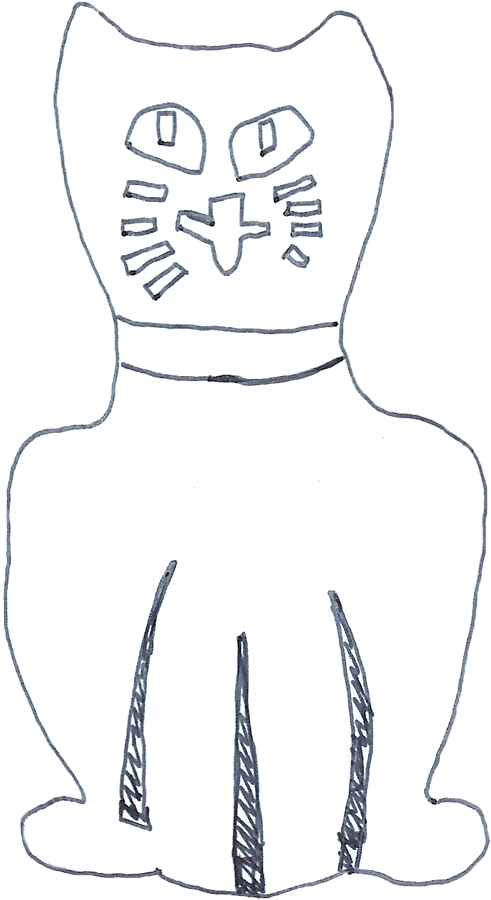 After taking a picture, I created a drawing that I scanned into my computer for easy sizing.
Collaboration
 As the hubster and I often do, we collaborated on the project to translate the poor bedraggled cat into a fun copper pendant. I transferred the pattern onto 22 gauge copper.
Cut and File
 The hubster cut out the shape with metal shears before filing and smoothing it. He did a great job maintaining the nuances of the shape!
Collar and Holes
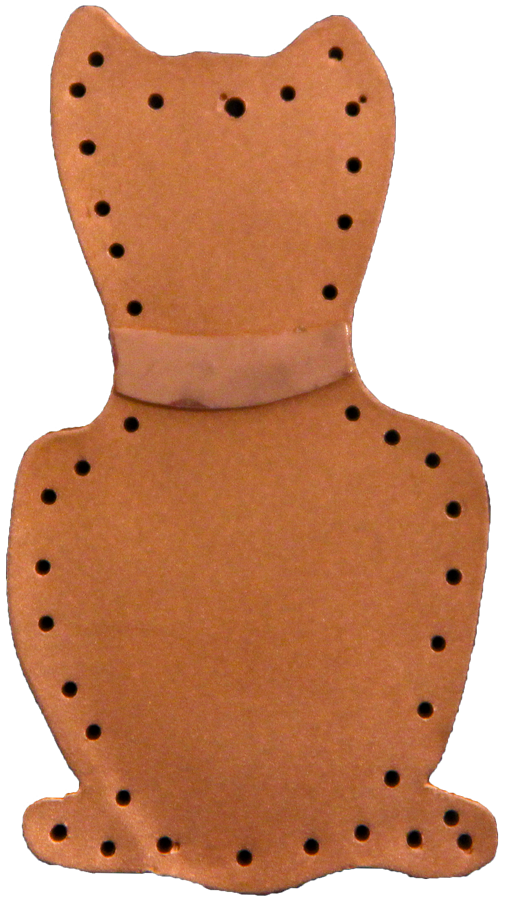 Next, he cut out and filed the copper collar and drilled all the holes with a drill press. They could have been drilled with a Pin Vice drill, but it would definitely have taken much longer! I attached the collar with E6000 glue.
Adding Color
 Verdigris, Emerald and Topaz Vintaj Patinas with a bit of black acrylic paint were my choices for adding detail in the face, collar and legs. Once dry, I coated it with Vintaj Glaze.
The Finishing Touches

To complete the look of the original cat, I used red perle cotton in a flexible beading needle to “stitch” the outer edge of the cat. Perfect!
With a copper jump ring and a twisted cord, my new cat is ready to decorate me or my newest journal.
To wear as a pendant, a decorative cord or chain are my choices. To display as a journal charm, a chain, some beads and a few smaller charms are just the right touch.
For a bit more inspiration. . . . .
Recognize her?
I bet you recognize this little girl by now! She was created in copper, brass and silver. “She was tedious!” my hubster said, but I think she’s perfect and the creator of the original art put her stamp of approval all over it. I bet I know where this pendant will end up!
Please join me on Friday at 2 pm eastern when we will use a different kind of metal and a simple process to create something fun that requires no special tools. You don’t want to miss it!
If you have any questions, feel free to leave a comment below. Thanks!

Remember to get creative today. It’s easy!!
Barb
